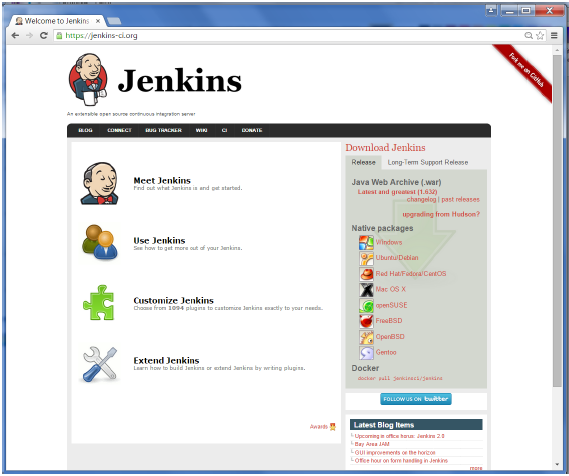
Jenkins is a software that allows continuous integration. Jenkins will be installed on a server where the central build will take place.
What is continuous integration ?
Continuous Integration is a development practice that requires developers to integrate code into a shared repository at regular intervals. This concept was meant to remove the problem of finding later occurrence of issues in the build lifecycle.
Continuous integration requires the developers to have frequent builds. The common practice is that whenever a code commit occurs, a build should be triggered.
Below steps will explain how to install and configure Jenkins with Git plugin.
Prerequisite:
Step 1: Download the
JDK from Oracle
https://www.oracle.com/technetwork/java/javase/downloads/index.html
Download 32 bit it 64 based on your OS platform.
Step 2: Install Java
on Windows
Create a directory
and install the java under that. ( Here I showed as _jdk10 under c: )
Step 3: Set up
JAVA_HOME on Windows
Step 4: Configure the
Java path setting
Step 5: Verify the
JDK installation
After the JDK is installed on Windows, the JAVA_HOME setup
is complete, and you've configured the Java path setting.
The last thing you need to do is verify the Java 10 / 11 installation actually works. To do so, simply open up a command prompt, and
enter the following command:
>java.exe –version
If you followed these steps, you have successfully installed
the JDK and configured the JAVA_HOME variable and the Java path setting on
Windows.
STEP 6: Download Jenkins WAR file
To begin this step by step Jenkins tutorial, you must first
download the product binaries.
https://jenkins.io/download/
The best way for beginners to learn Jenkins is to choose the
Generic Java package (.war) option. This option downloads a single file named jenkins.war, which
is run on the command line.
Step 7: Download
Tomcat
Browse to the link https://tomcat.apache.org/download-90.cgi
to get the download for tomcat.
Step 8: Jenkins and
Tomcat Setup
Copy the Jenkis.war
file which was downloaded from the previous section and copy it to the webapps
folder in the tomcat folder.
Now open the command prompt. From the command prompt, browse
to the directory where the tomcat9 folder located. Browse to the bin directory in
this folder and run the start.bat file
>C:\Apps\apache-tomcat-9.0.14\bin>startup.bat
Once the processing is complete without major errors, the
following line will come in the output of the command prompt.
INFO: Server startup
in 1302 ms
Open the browser and go to the link −
http://localhost:8080/jenkins. Jenkins will be up and running on tomcat.
Step 9 : SETUP
GIT
In your Jenkins Dashboard (Home screen), click the Manage
Jenkins option on the left hand side.
In the next screen, click the Available tab. This tab will
give a list of plugins which are available for downloading. In the ‘Filter’ tab
type ‘Git plugin’
The list will then be filtered. Check the Git Plugin option
and click on the button ‘Install without restart’.
Step 10 : Restart Jenkins
Once all installations are complete, restart Jenkins by
issue the following command in the browser.
http://localhost:8080/jenkins/restart
After Jenkins is restarted, Git will be available as an
option whilst configuring jobs. To verify, click on New Item in the menu
options for Jenkins.
Then enter a name for a job, in the following case, the name
entered is ‘Demo’.
Select ‘Freestyle
project’ as the item type. Click the Ok button.
In the next screen, if you browse to the Source code Management section, you
will now see ‘Git’ as an option.
Now we have successfully configured Jenkins with Git.


8 Comments
Nice Post Maha
ReplyDeleteThis blog is very creativity and the admin providing the best content was many knowledgeable posts. I appreciate your great work and keep blogging!!!
ReplyDeleteSpark Training in Chennai
Spark Training
Pega Training in Chennai
Linux Training in Chennai
Social Media Marketing Courses in Chennai
Power BI Training in Chennai
Tableau Training in Chennai
Excel Training in Chennai
Oracle DBA Training in Chennai
Spark Training in Valachery
Thanks Aruna Ram
DeleteThis comment has been removed by a blog administrator.
ReplyDelete
ReplyDeleteThanks you for sharing this unique useful information content with us. Really awesome work. keep on blogging
AWS Online Training
AWS Certification Training
AWS Certification Course Online
AWS Training
AWS Online Course
Thank you !!
DeleteĐặt mua vé rẻ Aivivu, tham khảo
ReplyDeleteve may bay tet gia re 2021
vé máy bay đi Mỹ khứ hồi
đường bay từ Việt Nam sang Pháp
vé máy bay đi hàn quốc khứ hồi vietjet
lịch bay việt nhật
giá vé máy bay đi Anh Vietnam Airline
đặt vé rẻ
gia ve may bay di san francisco
vé máy bay giá rẻ đi Los Angeles
Mua vé máy bay Aivivu, tham khảo
ReplyDeleteVe may bay di My
thông tin chuyến bay từ mỹ về việt nam
bay nhật bản việt nam
giá vé máy bay từ Toronto đến việt nam